8 Creative Ways to Style Your Home With DIY Photo Frames
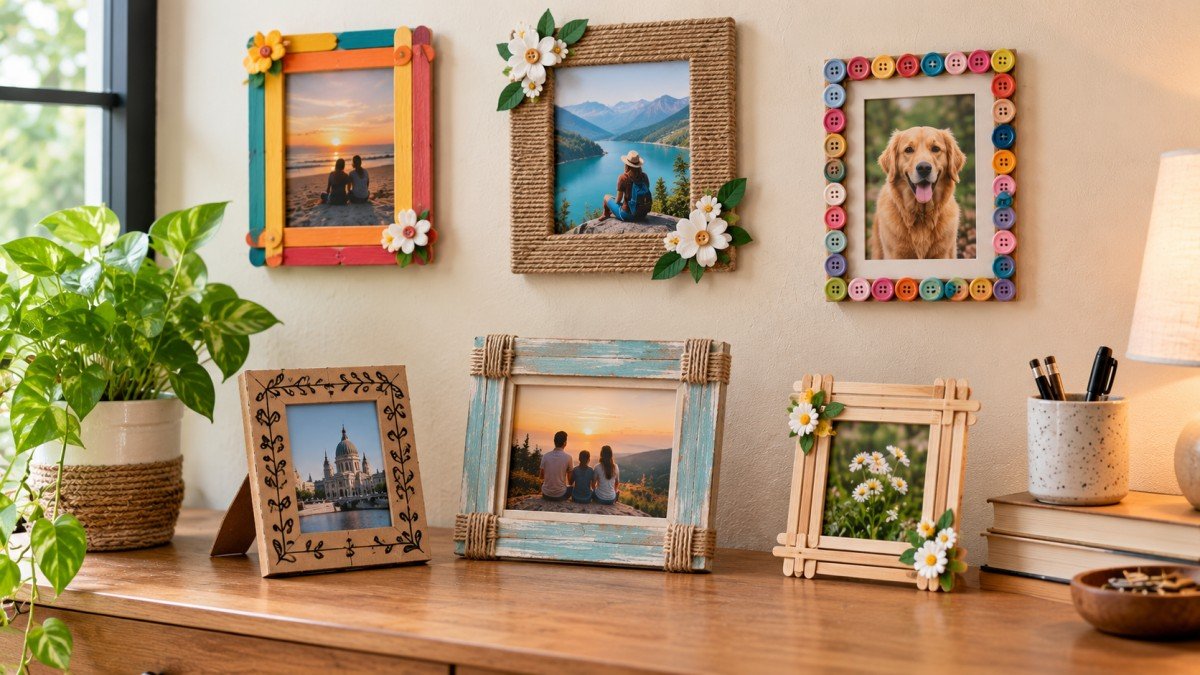
A photo frame doesn’t have to be the quiet little rectangle sitting on your bedside table, waiting patiently for a family photo. Give it some imagination, and suddenly, that old frame becomes wall art, a memory board, or even the star of the room!
The best part? You don’t need a craft room, expensive supplies, or the patience of a saint. These creative DIY photo frames and tutorials show how small changes can make ordinary frames feel completely personal.
I’ve picked 8 clever ideas from DIY creators and added a few practical tricks I’ve learned along the way. So, grab that frame you have been meaning to use and let’s make something amazing.
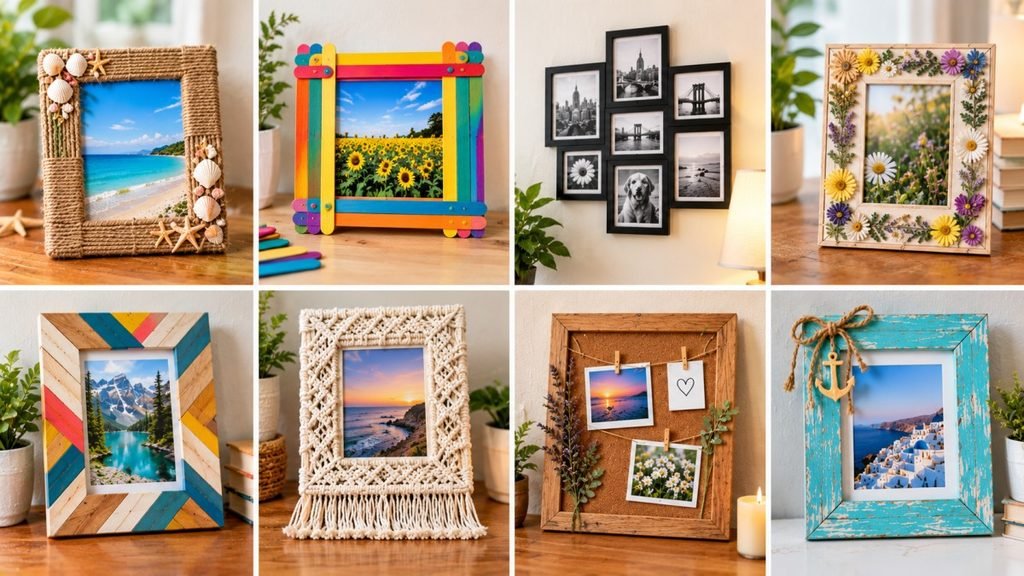
Top 8 DIY Picture Frame Crafts For Your Home
Add a Pop of Color
Content creator and designer Nick Lloyd brings personality into his office with an easy visual trick. He uses oversized frames with bold, colorful backdrops and a smaller, conventional photograph placed right in the centre.
The clever part is the contrast. Instead of making the photograph huge, the colorful space around it becomes part of the artwork.
Try this in a home office, reading nook, or even a hallway. Pick a backdrop that echoes one color already present in the room. Your cushion, rug, vase, or desk accessory can do the job. The photo doesn’t have to do all the decorating!
Fake a Bigger Picture With Fabric or Paper
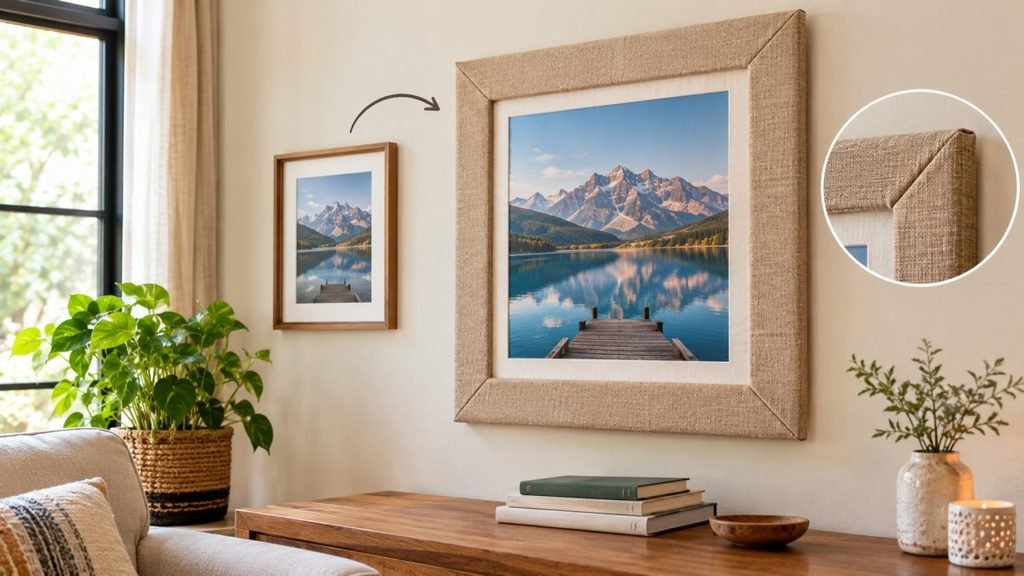
Ever bought a gorgeous oversized frame and then discovered that none of your photos fit? Hellominibianco has a wonderfully simple answer—fill the extra space with something else.
Tea towels, wrapping paper, wallpaper, and fabric can all become decorative backdrops. Place your smaller photograph over the centre and let the surrounding material do the heavy lifting.
This is also a great way to bring patterns into a neutral room without committing to patterned wallpaper. Think floral fabric for a bedroom, graphic wrapping paper for a study, paper florals for a living room, or a vintage tea towel in a kitchen.
These are the kinds of easy photo frame creation hacks that make you look suspiciously clever for something that took 10 minutes!
Swap the Standard Backdrop For Linen
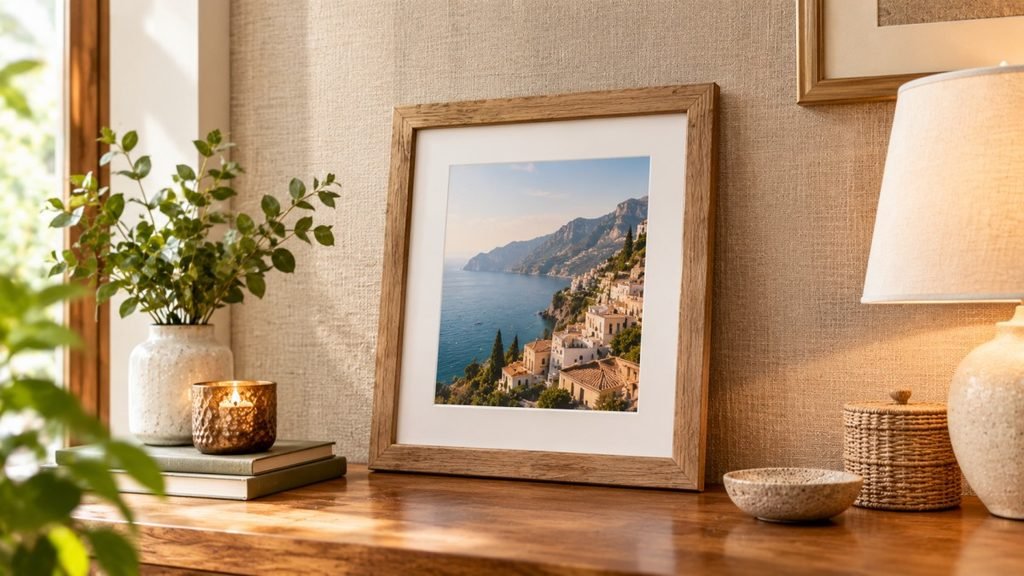
Steph & Jake’s linen frame proves that sometimes the easiest makeover is simply changing what sits behind the photograph. Their DIY linen photo frame uses neutral fabric for a softer, more textured finish.
Instead of using the cardboard or paper backing supplied with your frame, cut a piece of linen slightly larger than the opening and secure it neatly behind the frame. The texture instantly makes the photograph feel more considered. It works beautifully in bedrooms, living rooms, and calm, neutral spaces.
It’s also a great example of using unexpected photo frame materials to change the ordinary frame’s entire personality.
Give an IKEA Frame a Monochrome Makeover
Magdalena Wöckinger shows how much personality you can squeeze out of a basic IKEA frame. Her makeover combines spray paint with wooden half beads to turn a simple frame into something much more decorative. IKEA frames are also designed in multiple sizes and formats, making them useful starting points for DIY projects.
You can recreate the idea with a monochrome palette or introduce one accent color. Paint the frame, let it dry completely, then arrange small wooden beads around the border and securely attach them.
The result works particularly well on a console, shelf, or as a photo wall gallery idea.
For safety, follow the instructions on your spray paint and work in a properly ventilated area. If using hot glue, the U.S. Consumer Product Safety Commission recommends low-temperature glue guns for craft work.
Turn a Playing Card Into the Star
Alishbah Masood takes another IKEA frame and gives it a playful twist. Start with a red backdrop, add a playing card, and place a passport-sized or slightly larger photograph on top of it.
It sounds tiny, but it looks surprisingly cool! This is perfect for a games room, teenager’s bedroom, creative workspace, or anywhere you want your decor to feel less formal. You could even choose a card connected to your personality. Your birth month, favorite number, or lucky card suddenly becomes part of the story. This little detail turns a generic creative photo frame display into something that feels like yours.
Recycle an Old Pair of Jeans
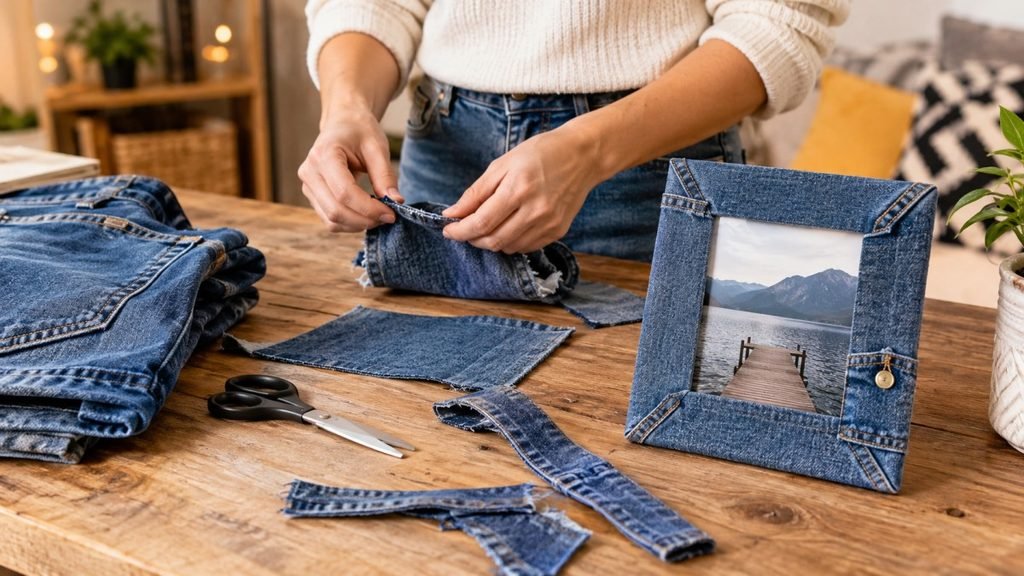
I love Insha Khan’s jean-pocket frame because it gives an old piece of clothing a second life.
Cut the back pocket from a pair of jeans and secure it tightly around a piece of cardboard. Add little trinkets, then attach photographs using paper clips.
The best bit? Nothing needs to stay in the same place. Swap the photos. Change the trinkets. Add a ticket stub from your latest trip. Tuck in a handwritten note. The possibilities are endless!
It’s basically a tiny memory board disguised as a frame, making it a fun option for family photo display ideas or a teenager’s room. And yes, it has serious Pinterest energy. It’s exactly the kind of Gen Z wall decor DIY I like.
Build a Popsicle-Stick Frame
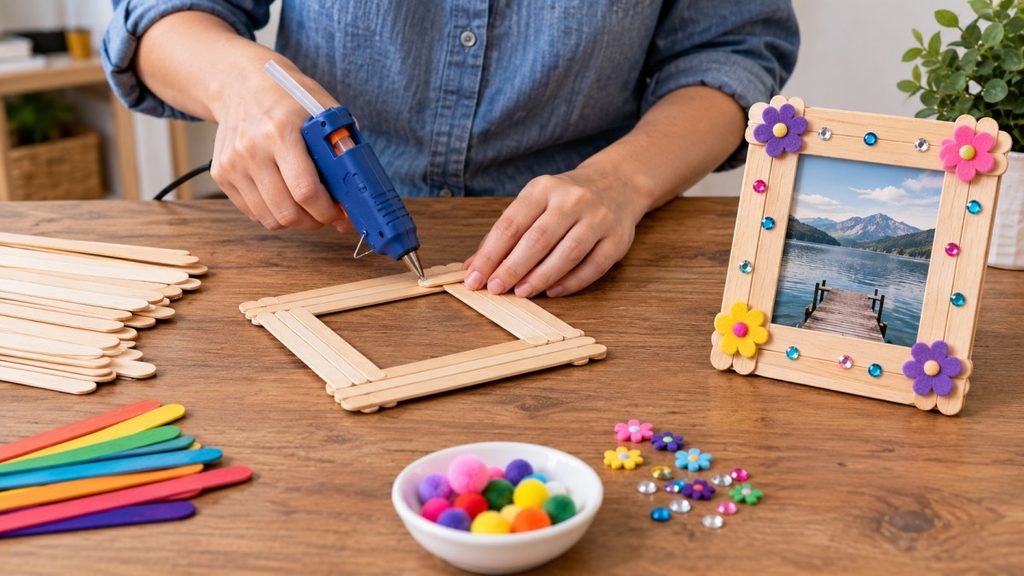
Dicas da Lu takes the humble popsicle stick considerably more seriously than most of us do.
Start by laying out your sticks and marking the size of the photograph you want to frame. Around these marks, create a border with additional sticks. Leave one side open so you can slide the photograph in later. Once the main frame is secure, add extra popsicle sticks at the back to create a stand if you want it to sit on a desk or shelf.
It’s a little more fiddly than the previous photo frame wall decor ideas, but that’s part of the fun.
You can paint the sticks, leave them natural, or mix both. It’s also a good weekend project to do with children—plus, these frames make sweet handmade presents! These step-by-step photo frame-making techniques are worth trying when you want the frame itself to become the craft.
Add Flowers Without Making a Giant Bouquet
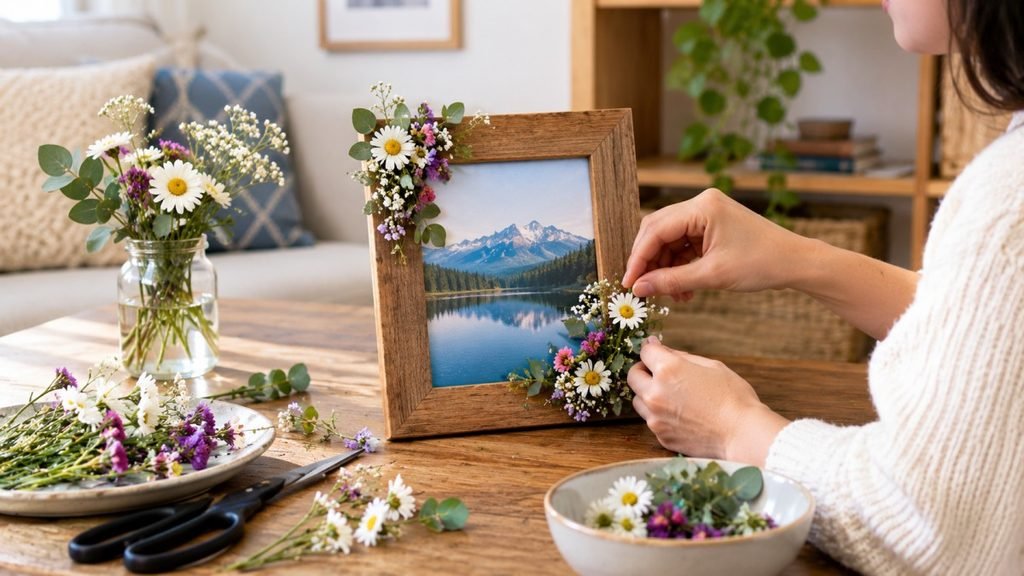
Sandy’s floral frame is a clever way to bring flowers into your decor without covering the entire frame. It also makes for a lovely DIY gift.
Cut paper straws into different lengths and attach them along the bottom of the frame. Slide faux flower stems through the straw sections and seal the bottoms so the stems stay in place. The different heights give the flowers a loose, organic look.
I would use this one in a bedroom, entryway, or sunny corner where the frame can act almost like a tiny vertical garden. Choose flowers that match the room rather than simply grabbing every artificial flower in the craft store. Your future self will thank you.
How to Make the Finished Display Look Intentional
Once you have your DIY frames, resist the urge to hang them wherever there’s an empty wall.
For a gallery arrangement, lay your frames on the floor first. Move them around until the spacing feels balanced. IKEA recommends making paper templates of your frames before hanging them. This is a particularly useful trick when working with several different sizes.
You can also combine frames with books, small artwork, plants, and objects on a shelf for a more relaxed floating shelf photo display.
The trick is repetition. Repeat one color, material, shape, or finish across several pieces. That creates cohesion without making everything match.
The nicest thing about DIY photo frame hacks is that there’s no single right way to do them. A fabric scrap can become a backdrop. An old pocket can become storage. A playing card can become art.
So don’t worry about making your frames look perfectly store-bought. The little imperfections are often what make DIY photo frame home decor feel personal.
Pick the idea that suits your room, add something that means something to you, and make the frame yours. After all, your favorite memories deserve more than a boring border.
FAQs
1. How do you make a DIY photo frame at home?
Start by cutting a base, like sturdy cardboard, into your desired shape with a cutout window for the picture. Next, trim a backing piece of the same size, secure your photo in the center, and glue or tape the edges together for a quick, custom display.
2. What materials are used to make DIY photo frames?
You can use everyday items like cardboard, wooden popsicle sticks, cardstock, or foam board for the structure. Decorate your frame using acrylic paint, fabric, twine, dried flowers, or buttons, and secure everything using standard PVA glue, double-sided tape, or a hot glue gun.
3. How do you arrange photo frames on a wall without nails?
Use adhesive picture-hanging strips or mounting tape designed for damage-free hanging. Before sticking them up, lay your frames on the floor to plan the gallery arrangement, clean the wall surface with rubbing alcohol, and press each frame firmly against the wall for a secure hold.
4. How do you make a photo frame out of cardboard?
Cut 2 equal cardboard rectangles. One 1 piece, cut out a central window slightly smaller than your photo. Paint or decorate the front piece, sandwich your photo between both layers, and glue 3 sides together, leaving the top edge open so you can swap pictures easily.

As a lifelong DIY enthusiast, Alex Barton is never afraid to go the extra mile to save a few bucks! From seamless interior decor hacks to effective DIY home renovation tips, he shares a myriad of his experiences for you to unleash your creativity.